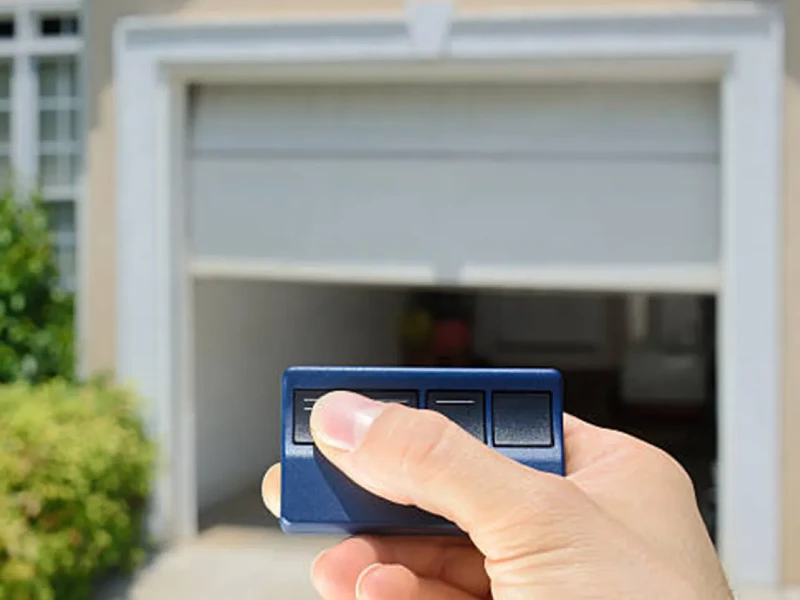
Maintaining your LiftMaster garage door openers is critical to their smooth operation and longevity. One key aspect of this maintenance is to periodically change the battery in your garage door remote. In this comprehensive guide, we will walk you through the process of changing the battery in your LiftMaster garage door opener so that you can do it efficiently and safely.
Related Article: Step-by-Step Guide to Pair LiftMaster Garage Door Opener Remotes
Why Change the Battery?
The battery in your LiftMaster garage door opener serves as a backup power source, so the door can still operate during power outages. Over time, the battery in your garage door remote can lose its charge and need replacement. Regularly changing the battery helps maintain the reliability and functionality of your garage door opener.
Tools and Materials Needed
- New battery (specific to your LiftMaster model)
- Screwdriver (Phillips or flat-head, depending on your model)
- Step ladder
- User manual for your specific LiftMaster model (optional but recommended)
Safety Precautions
Before you replace the battery, it’s essential to take some safety precautions:
- Disconnect Power: Make sure the garage door opener is disconnected from its power source to avoid any electrical hazards.
- Secure the Garage Door: Make sure the garage door is fully closed. If the door is open, check that it is properly secured to prevent it from closing accidentally.
- Read the Manual: Refer to the user manual for specific instructions and safety warnings related to your model.
Change Battery: LiftMaster Garage Door Opener
Simple Steps for Battery Replacement
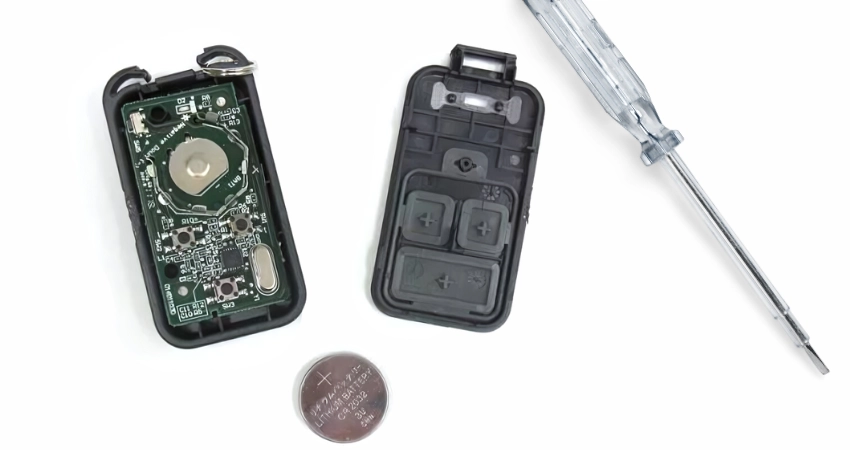
- Identify the Battery Type:
- LiftMaster garage door openers typically use a 12V battery. However, it’s best to check your user manual or the existing battery for the correct type.
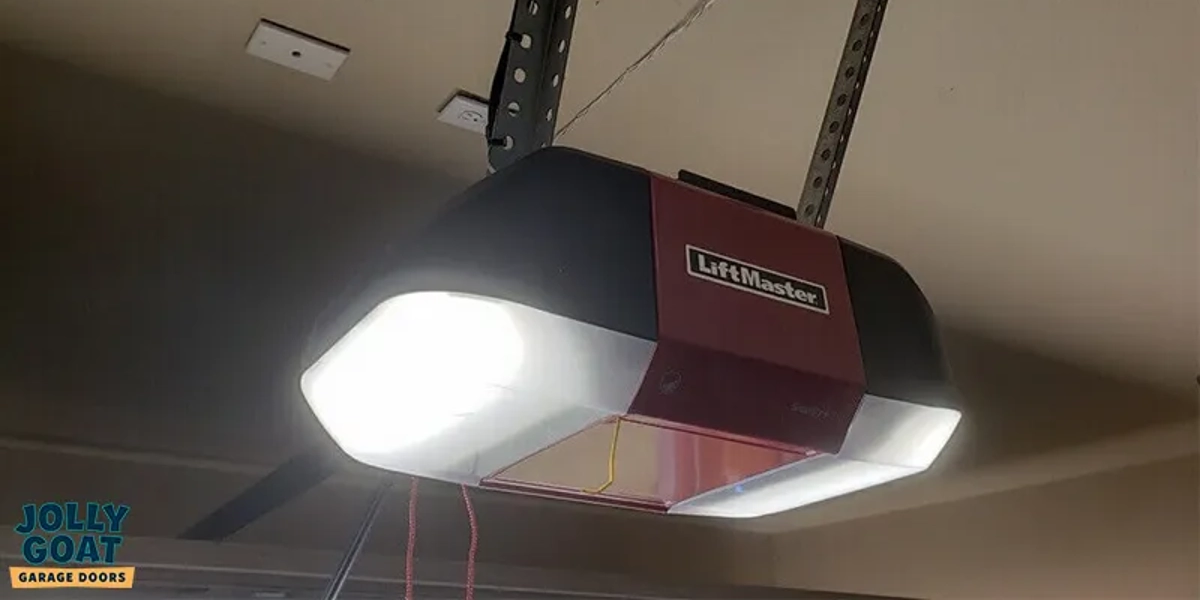
- Locate the Battery Compartment:
- The battery compartment is usually found on the motor unit of the garage door opener. It may be a back cover or panel that is secured with screws.
- Remove the Battery Compartment Cover:
- Use a flat-head screwdriver to remove any screws holding the cover in place. Keep the screws in a safe place, as you will need them to reattach the cover later.
- Carefully remove the cover to expose the battery.
- Disconnect the Old Battery:
- Before removing the old battery, note the orientation of the positive (+) and negative (-) terminals.
- Disconnect the wires from the old battery. This may require gently pulling on the connectors or using a small tool to release them.
- Install the New Battery:
- Place the new battery in the compartment, making sure it is oriented correctly according to the positive and negative terminals.
- Reconnect the wires to the new battery, making sure they are securely attached.
- Replace the Battery Compartment Cover:
- Reattach the cover to the battery compartment using the screws you set aside earlier.
- Tighten the screws securely to be sure the cover is properly in place.
- Reconnect the Power:
- Plug the garage door opener back into the power source.
- Test the garage door opener to confirm it is functioning correctly with the new battery.
Testing the New Battery
To verify that the new battery is working correctly:
Operate the Garage Door:
Open and close the garage door using the Liftmaster garage door remote to make sure it functions smoothly.
Test the Backup Power:
-
- Disconnect the power source again to simulate a power outage.
- Operate the garage door opener to make sure it works on battery power.
If the garage door opener does not function correctly on battery power, double-check the battery connections and make certain the new battery is charged.
What to Consider Before You Change Your Wall Control Unit Battery?
Changing the battery in your LiftMaster garage door opener wall control is straightforward, but there are a few important considerations to keep in mind before you proceed. Taking these factors into account will help you avoid potential issues and guarantee a smooth battery replacement process.
1. Identify the Correct Battery Type
Different models of LiftMaster wall controls may require different types of batteries. Common types include CR2032, CR2016, or other coin cell batteries. Check your wall control’s user manual or the existing battery to determine the correct type and size.
2. Gather Necessary Tools
Before you begin, make sure you have all the necessary tools and materials. This typically includes:
- The correct replacement battery
- A small screwdriver (usually Phillips or flat-head, depending on the model)
- A clean, dry cloth for cleaning any dust or debris
3. Understand the Replacement Procedure
Familiarize yourself with the specific steps required to change the battery in your wall control. This information can usually be found in your user manual. Knowing the steps ahead of time can make the process quicker and easier.
4. Check for Additional Maintenance Needs
While you have the wall control open, take the opportunity to inspect it for any signs of wear or damage. Check the battery contacts for corrosion, and clean them if necessary. This guarantees good contact and reliable operation once the new battery is installed.
5. Consider the Age of Your Wall Control
If your wall control is very old, it might be worth considering whether it needs to be replaced entirely rather than just changing the battery. Over time, components can wear out, and replacing the entire unit may provide better reliability and functionality.
6. Ensure Safety
Before starting the battery replacement process, be sure that you:
- Disconnect the garage door opener from its power source to prevent accidental activation.
- Inform anyone in the household that you are working on the garage door opener to prevent any interruptions or accidents.
7. Environmental Considerations
Properly dispose of the old battery according to local regulations. Many areas have specific disposal methods for batteries to prevent environmental contamination. Check with your local waste management service for guidance on battery disposal.
8. Resetting the Wall Control
After replacing the battery, you might need to reset the wall control or reprogram it to make sure it works correctly with your garage door opener. Refer to your user manual for specific instructions on how to do this.

Final Thoughts: Pop Open that Remote and Access With Ease
Get your tool box, grab a flat-head screwdriver, insert some brand new batteries, and watch those garage doors open with ease.
Regular maintenance is key to keeping your LiftMaster garage door opener battery running smoothly. By changing the garage door remote battery of your LiftMaster, your garage door remote will always be in top condition and guarantee a hassle-free operation every time. Keep up with these simple tasks, and your LiftMaster system will continue to provide reliable performance for years to come.
Got other questions? Feel free to contact us on (405) 256-3940 or send us an email at sales@jollygoargaragedoors.com or visit our Garage Door Opener Information Center.