If you’ve ever faced the frustrating situation of your garage door opener malfunctioning, you know how important it is to get it back in working order quickly. Resetting your LiftMaster garage door opener can be a straightforward process, but it’s crucial to follow the steps correctly to avoid any further issues. In this guide, we’ll walk you through the process of resetting your LiftMaster garage door openers, ensuring you can regain smooth access to your garage with minimal fuss. Let’s make this technical task as easy and enjoyable as possible!
Related Article: How to Reprogram LiftMaster Garage Door Opener Units
Understanding Your LiftMaster Garage Door Opener
Before diving into the reset process, it’s helpful to understand the basic components of your LiftMaster garage door opener. These typically include:
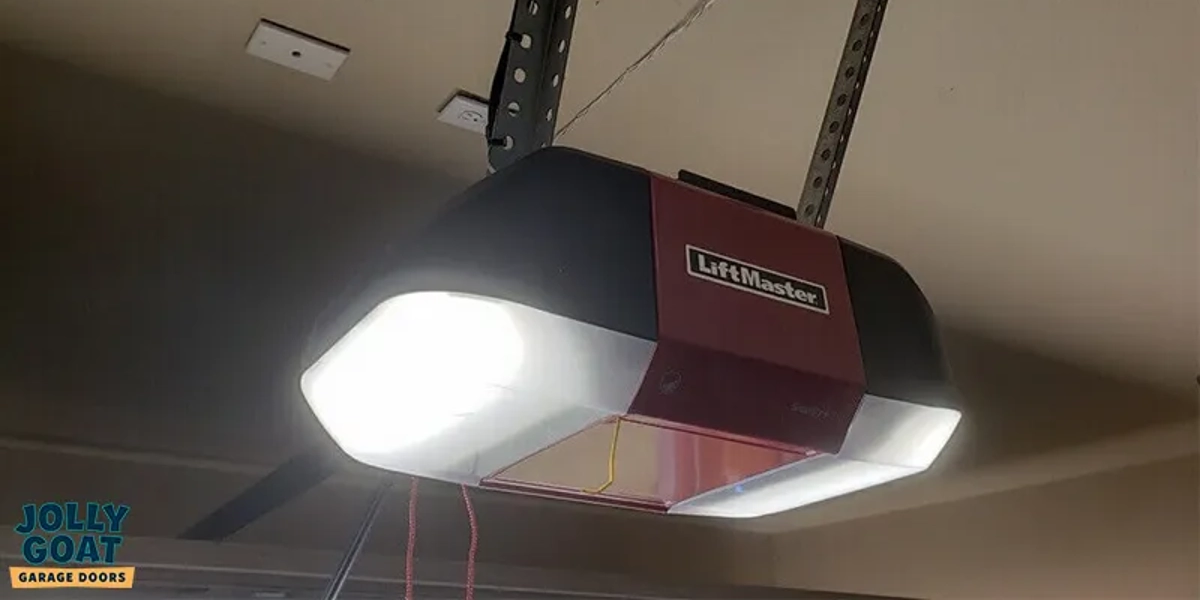
- Motor Unit: Mounted on the ceiling of your garage, this is the heart of your opener.
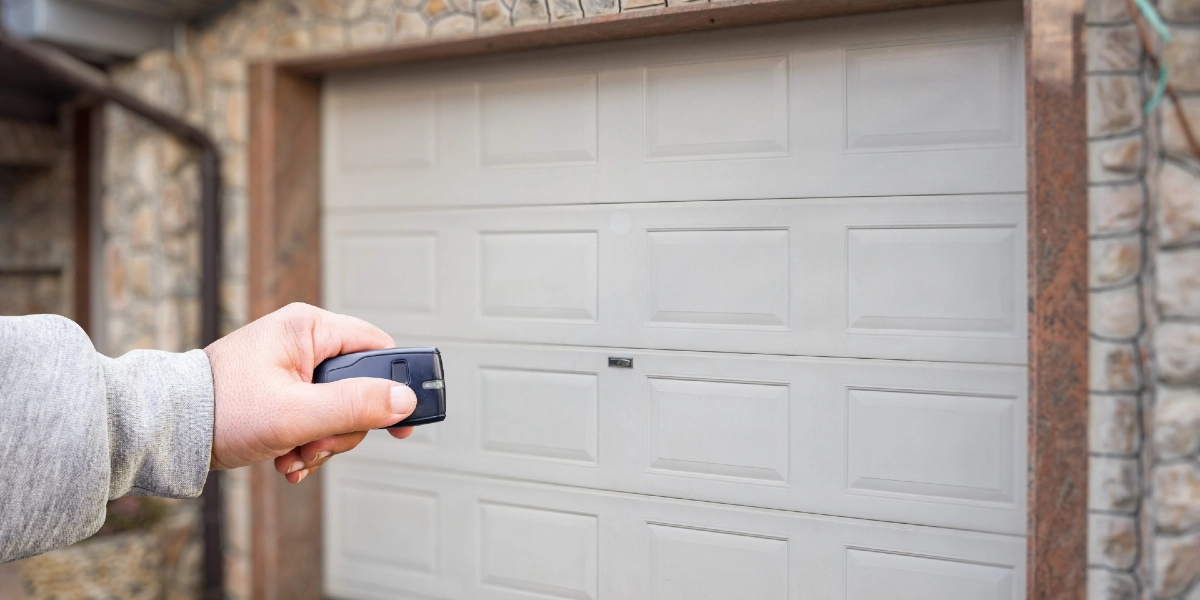
- Remote Control: These are the handheld devices you use to open and close the garage door.
- Keypad: An external keypad mounted outside your garage allows for keyless entry.
- Wall Control Panel: Usually located inside the garage, this allows for manual operation.
- Safety Sensors: Positioned near the ground on either side of the door, these ensure safe operation by detecting obstacles.
Step-by-Step Guide to Resetting Your LiftMaster Garage Door Opener
Step 1: Power Down the Opener
Safety first! Before you start, unplug the opener from the power outlet or turn it off at the circuit breaker. This ensures you won’t accidentally activate the door during the reset process.
Step 2: Find the Reset Button or “Learn” Button
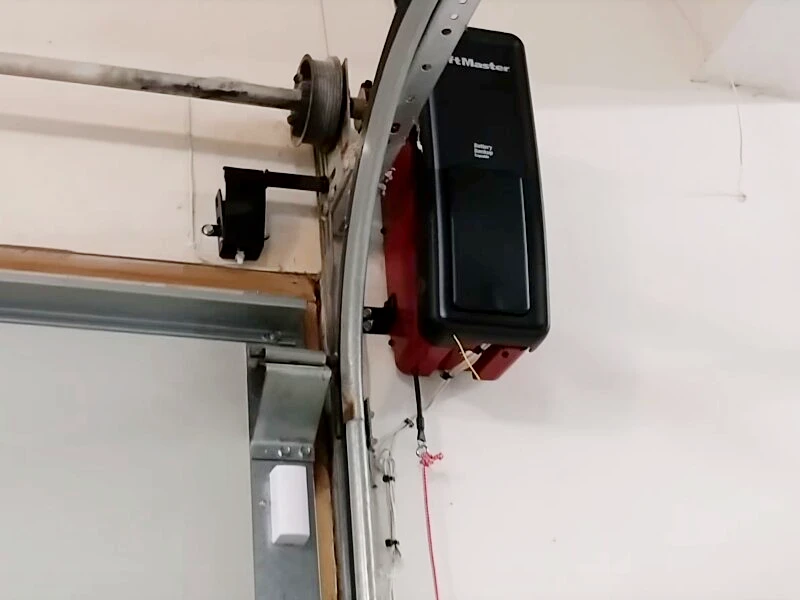
The reset button is typically located on the back or side of the motor unit. This button is essential for programming and resetting the opener. Depending on your model, the Learn button may be yellow, red, green, or purple.
Step 3: Clear the Opener’s Memory
Press and hold the Learn button for about 6 to 10 seconds until the indicator light turns off. This action will clear all remote controls and keypads from the opener’s memory. You’ll need to reprogram these devices after the reset.
Step 4: Reprogram Remote Controls and Keypad
- Remote Controls:
-
- Press the Learn button on the motor unit once. The indicator light will turn on.
- Within 30 seconds, press and hold the programmed button on your remote control that you want to program. The motor unit’s light will blink, indicating successful programming.
- Repeat this process for each remote control you need to reprogram.
- Keypad:
-
- Press the Learn button on the motor unit once.
- Within 30 seconds, enter your chosen 4-digit PIN on the keypad and press the Enter button. The motor unit’s light will blink or the LED lights will turn on and off, to confirm successful programming.
Step 5: Test the Opener
After reprogramming your remote controls and keypad, it’s time to test the opener. Plug the motor unit back into the power outlet and use your remote controls and keypad to ensure everything operates smoothly.
If you encounter any issues during the reset process, here are some common troubleshooting tips:
- Check the Power Source: Ensure the motor unit is properly plugged in and that there’s no interruption in the power supply.
- Inspect the Remote Controls: Replace the batteries in your remote controls if they aren’t working correctly.
- Examine the Safety Sensors: Make sure the sensors are properly aligned and free from obstructions.
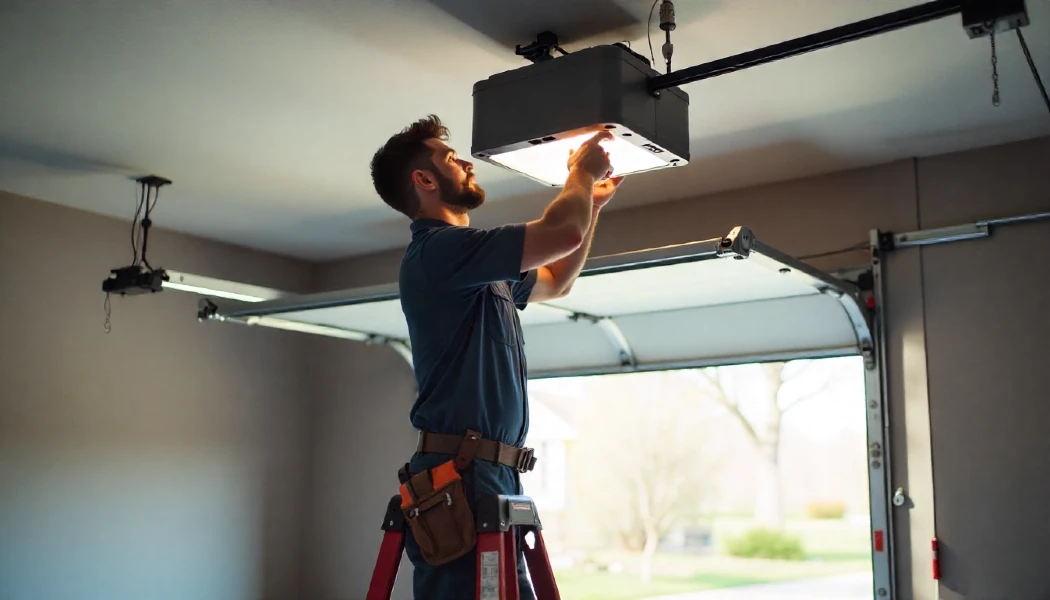
When to Call a Professional
While resetting your LiftMaster garage door opener is a task many homeowners can handle, there are times when it’s best to call a professional. If you’re still experiencing problems after following these steps or if you’re uncomfortable performing the reset yourself, a professional technician can provide the necessary expertise.
Reasons to Reset Your Garage Door Opener System
Understanding why you might need to reset your LiftMaster garage door opener can help you recognize when it’s time to take action. Here are some common reasons:
1. Lost or Stolen Remote Controls
If one of your remote controls is lost or stolen, resetting LiftMaster openers will ensure that the missing remote can no longer be used to access your garage. This is a crucial security measure to protect your home.
2. Malfunctioning Opener
Sometimes, garage door openers can start to malfunction due to software glitches or interference. Resetting the system can clear these issues and restore proper functionality.
3. New Home Purchase
When you move into a new home, it’s a good practice to reset the garage door opener with a new PIN code. This ensures that any remotes from previous owners no longer work, giving you complete control over access. It is also necessary if you do not know the old code.
4. Reprogramming the System
If you want to add new remote controls or change the keypad PIN, resetting the system is often necessary to clear out old codes and start fresh with new ones.
5. Troubleshooting Problems
If you’re experiencing intermittent issues with your garage door opener, a reset can be a useful troubleshooting step. It can help diagnose whether the problem is with the opener itself or other components like the remote controls or safety sensors.
How to Reset Your Garage Door Remote Control
Resetting your door opener remote is an integral part of the overall reset process. This will erase all remote-control and keyless entry codes that had been connected to the garage door. Here’s how you can do it:
Step 1: Locate the Learn Button
As with resetting the door opener, the first step in resetting your garage door remote is locating the Learn button on the motor. This button is typically found on the back or side of the motor and may be yellow, red, green, or purple.
Step 2: Press the Learn Button aka the Reset Button

Press and release the Learn button. The indicator light bulb will turn on, signaling that the unit is ready to learn a new keypad code.
Step 3: Program the Remote
Within 30 seconds of pressing the Learn button on the control panel, press and hold the reset button on the remote control button that you wish to use to operate the door opener. The motor unit’s LED light will blink, indicating that the new code has been successfully programmed.
Step 4: Double Check and Test the Remote
After activating the programming mode on the remote, test it to ensure that it has successfully reset and operate the garage doors correctly. If it doesn’t work, repeat the process to ensure the code is correctly set.
Step 5: Repeat for Additional Remotes
If you have multiple remotes, repeat the programming process for each one. Remember to push the “Learn” button on the motor before programming each remote.
Resetting your LiftMaster opener doesn’t have to be a daunting task. By following these clear, step-by-step instructions, you can quickly get your garage door opener back in working order, ensuring your home remains secure and accessible. Whether you’re setting up a new opener, addressing lost remotes, troubleshooting malfunctions, or simply reprogramming the system, the process is straightforward and manageable for most homeowners.
Remember, safety is paramount throughout this process. Always disconnect the power before beginning any reset procedures to prevent accidental activation of the garage doors. If you encounter any difficulties or feel uncertain at any step, don’t hesitate to call a Jolly Goar garage door repair technician for assistance. Their expertise can ensure the job is done correctly and safely.
Ultimately, taking the time to understand and maintain or reset a LiftMaster opener can save you time and frustration in the long run. It’s a small investment that pays off in convenience and peace of mind. Happy resetting, and here’s to smooth, hassle-free garage door operations! If you still encounter difficulties, call Jolly Goat Garage Door for any garage door service or technical support you may need, or visit our Garage Door Opener Information Center.